This guide provides the steps necessary to connect your SendGrid account to Oviond, including permissions, limitations, and troubleshooting tips.
Ensure you have an Oviond account with administrative access.
Access to your SendGrid account login credentials and an API Key.
You are able to create an API key in your SendGrid account by following these steps:
Log into your SendGrid account.
Under the menu, select 'API Key'.
On the top right corner of the page select the button named 'Create API Key'.
Name the API Key to help you identify what platform you have used the key on and select the option to grant Full Access to the API.
Once you are done, select 'Create & View'.
Once you have generated the API Key, copy the key and click 'Done'.
In order to connect your SendGrid account to Oviond, you will need to use the API key generated in the steps above.
Open Oviond and navigate to the client you wish to connect SendGrid to.
Select Project or Start a New Project
Select the project you want to work on or start a new project.
If starting a new project, it will automatically open in the Workspace Editor.
Access the Project Workspace Editor
Click 'Edit' to access the Project Workspace Editor if you are working on an existing project.
In the action sidebar menu on the right, select Data Sources.
Click on SendGrid.
An authentication pop-up will appear (The first authenticated account will automatically be called "Default SendGrid Account") and you can change this in Data Sources.
Fill in your email and password if you are not logged into SendGrid on another widow.
Choose the Organization you want to connect to then click 'Allow access'.
Select Default SendGrid Account then click 'Next'.
Choose the SendGrid account to connect to.
Click 'Save'.
Note: Please note that the API will only be shown to you once, so be sure to save the API key somewhere safe.
You will need an API Key to connect SendGrid as an integration on Oviond.
Ensure that you have Alerts created in your SendGrid account for the connection to Oviond to be successful. Follow these steps to create an Alert:
Navigate to Settings.
Click 'Alert Settings' in your SendGrid account.
Create an Alert if you do not have any set up.
If there are no Alerts set up, the API key doesn't have any data to query on Oviond.
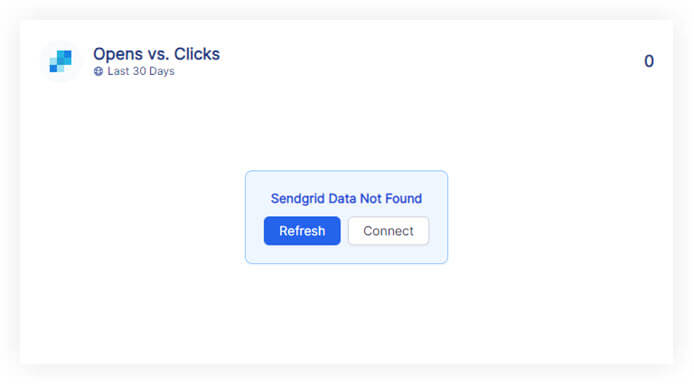
If you get this error message on your report:

Please follow these steps:
Click on the refresh button in the widget or next to the date selector in the project.
if the widgets still don't load data
Click on 'Connect' in the widget and make sure you have connected the correct SendGrid account. You will need to add a new authenticated account and make sure you have used the correct API key.
If you have followed these steps and are still experiencing issues with SendGrid on Oviond, please contact support.
By following these steps, you can connect SendGrid to Oviond, enabling you to seamlessly integrate your data for dashboards and reports.
How to connect a data source from a widget
Learn how to connect a data source from a widget in Oviond with this step-by-step guide for seamless data integration.